
FeedSupport Portal
The FeedSupport Portal is your direct line to the Feedonomics global support team. It’s where you go to get help with your feed, ask questions, and keep track of everything the team is working on for your account.
This guide covers where to find the portal, what’s on the home screen, how to submit a request, and how to follow up on tickets you’ve already opened. Some requests don’t need a ticket at all: self-managed workflows such as Exclude/Include Products let you make the change yourself directly in the platform.
Open the FeedSupport Portal
There are two ways to reach the portal:
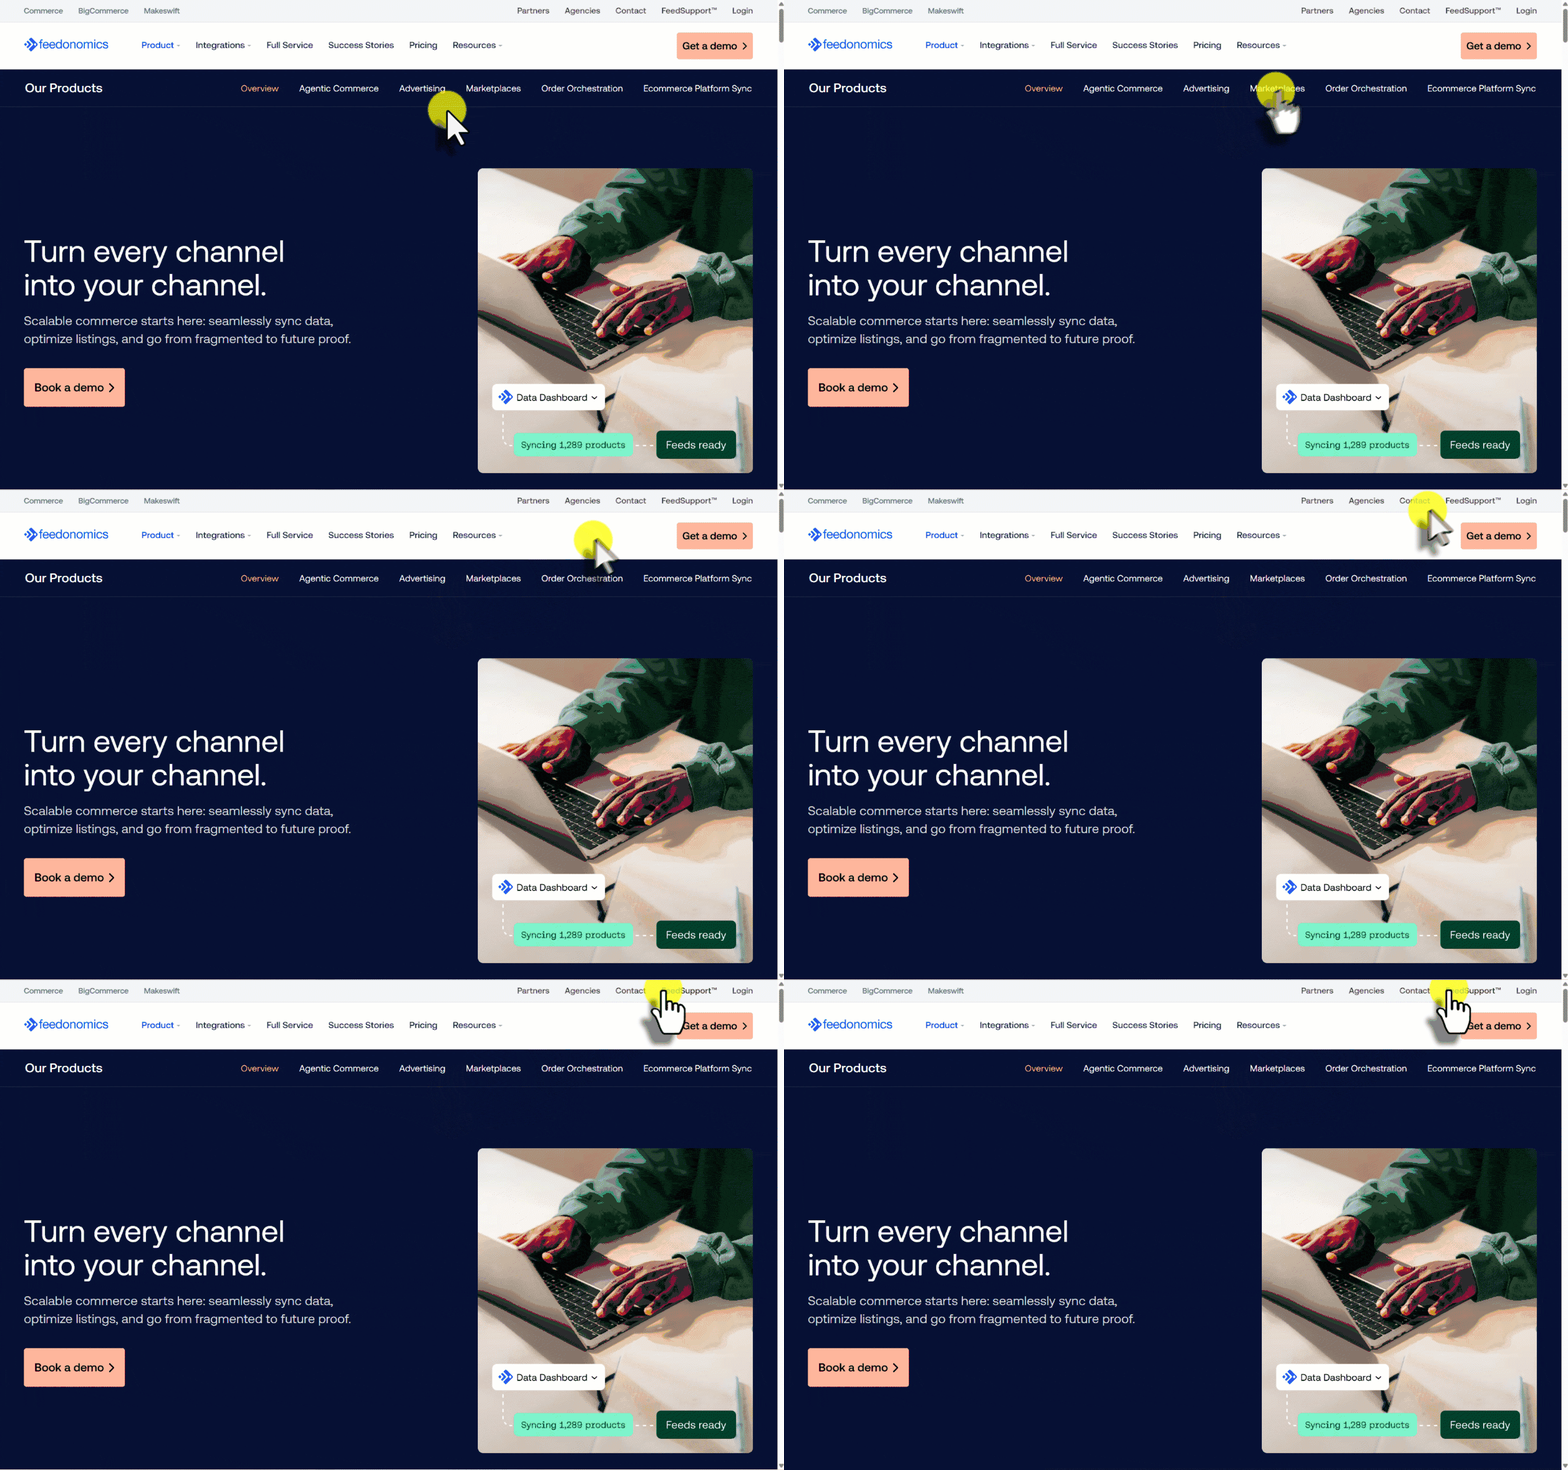
- From feedonomics.com. Select FeedSupport™ in the top navigation bar to go straight to the portal.
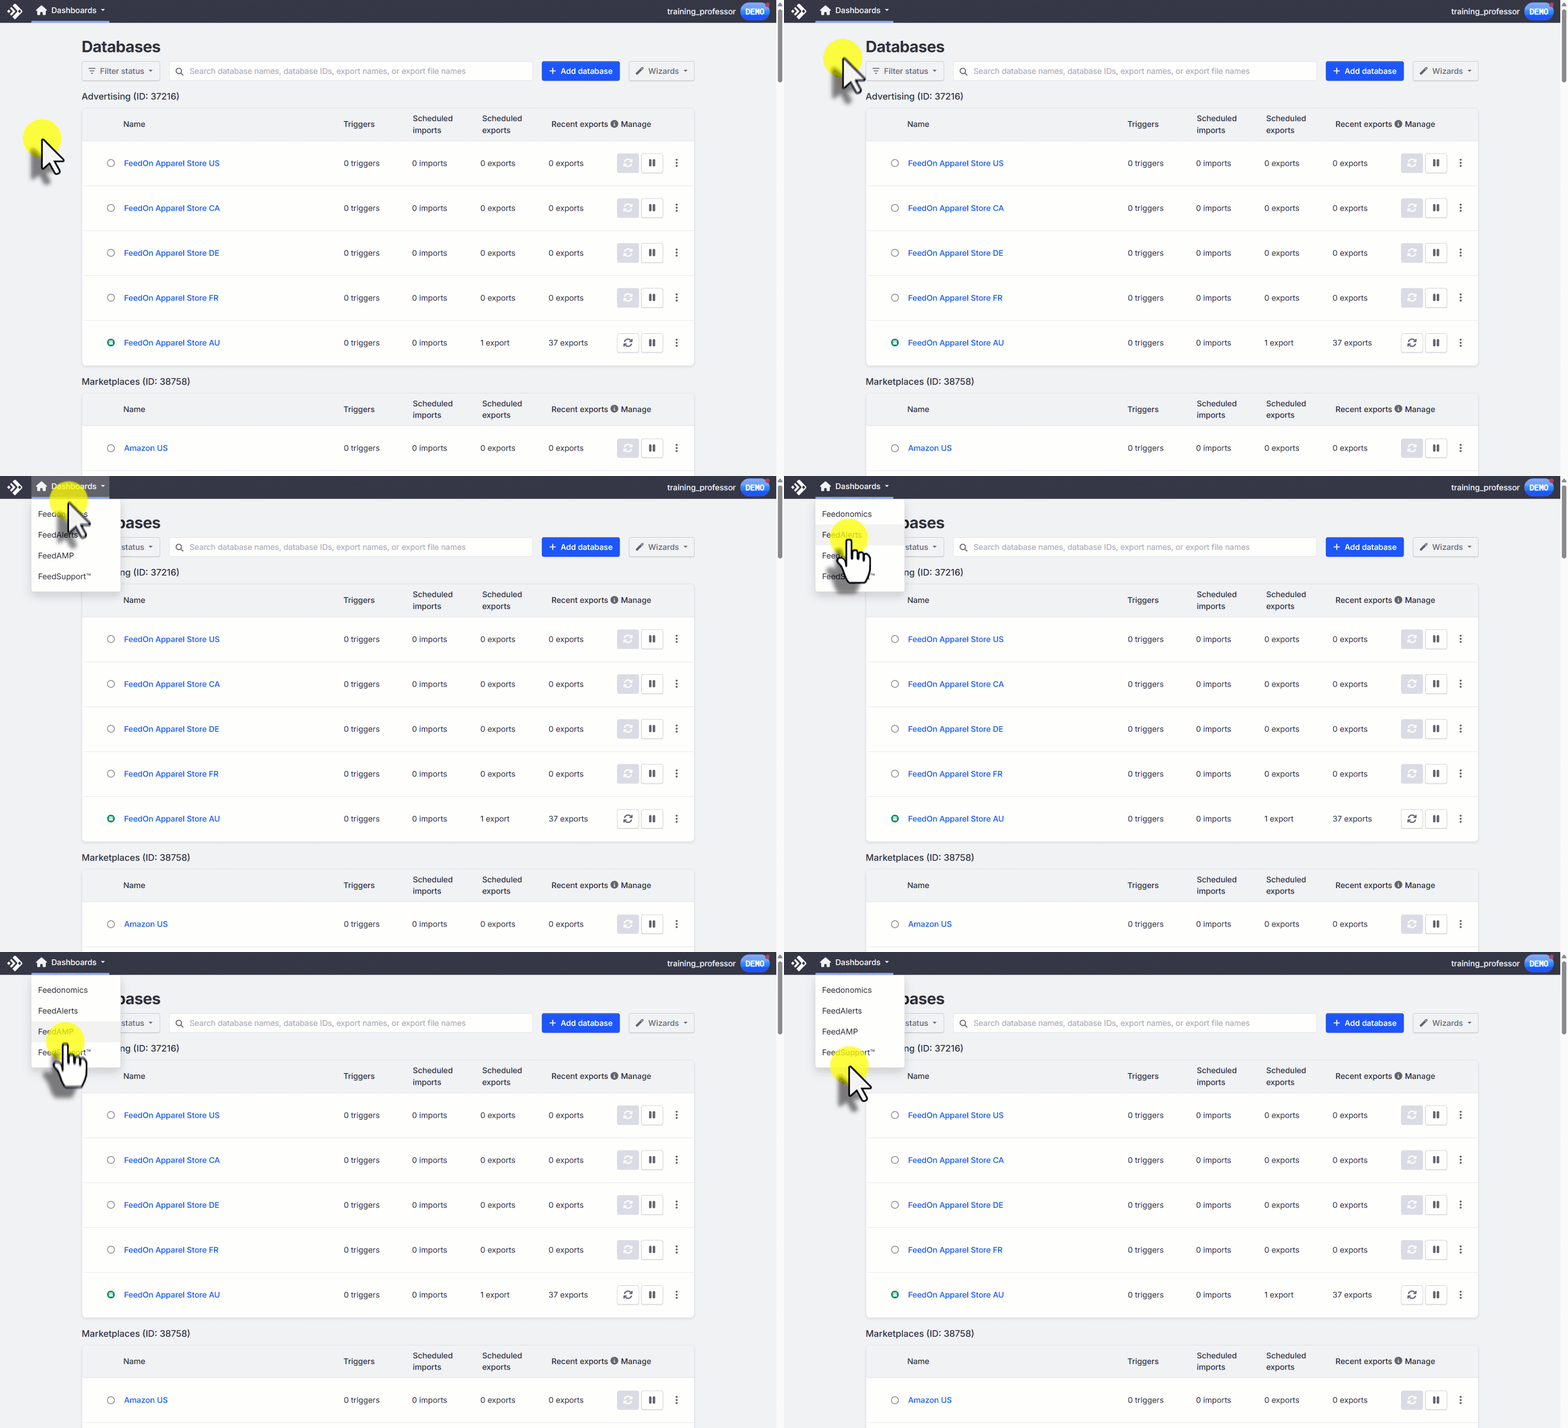
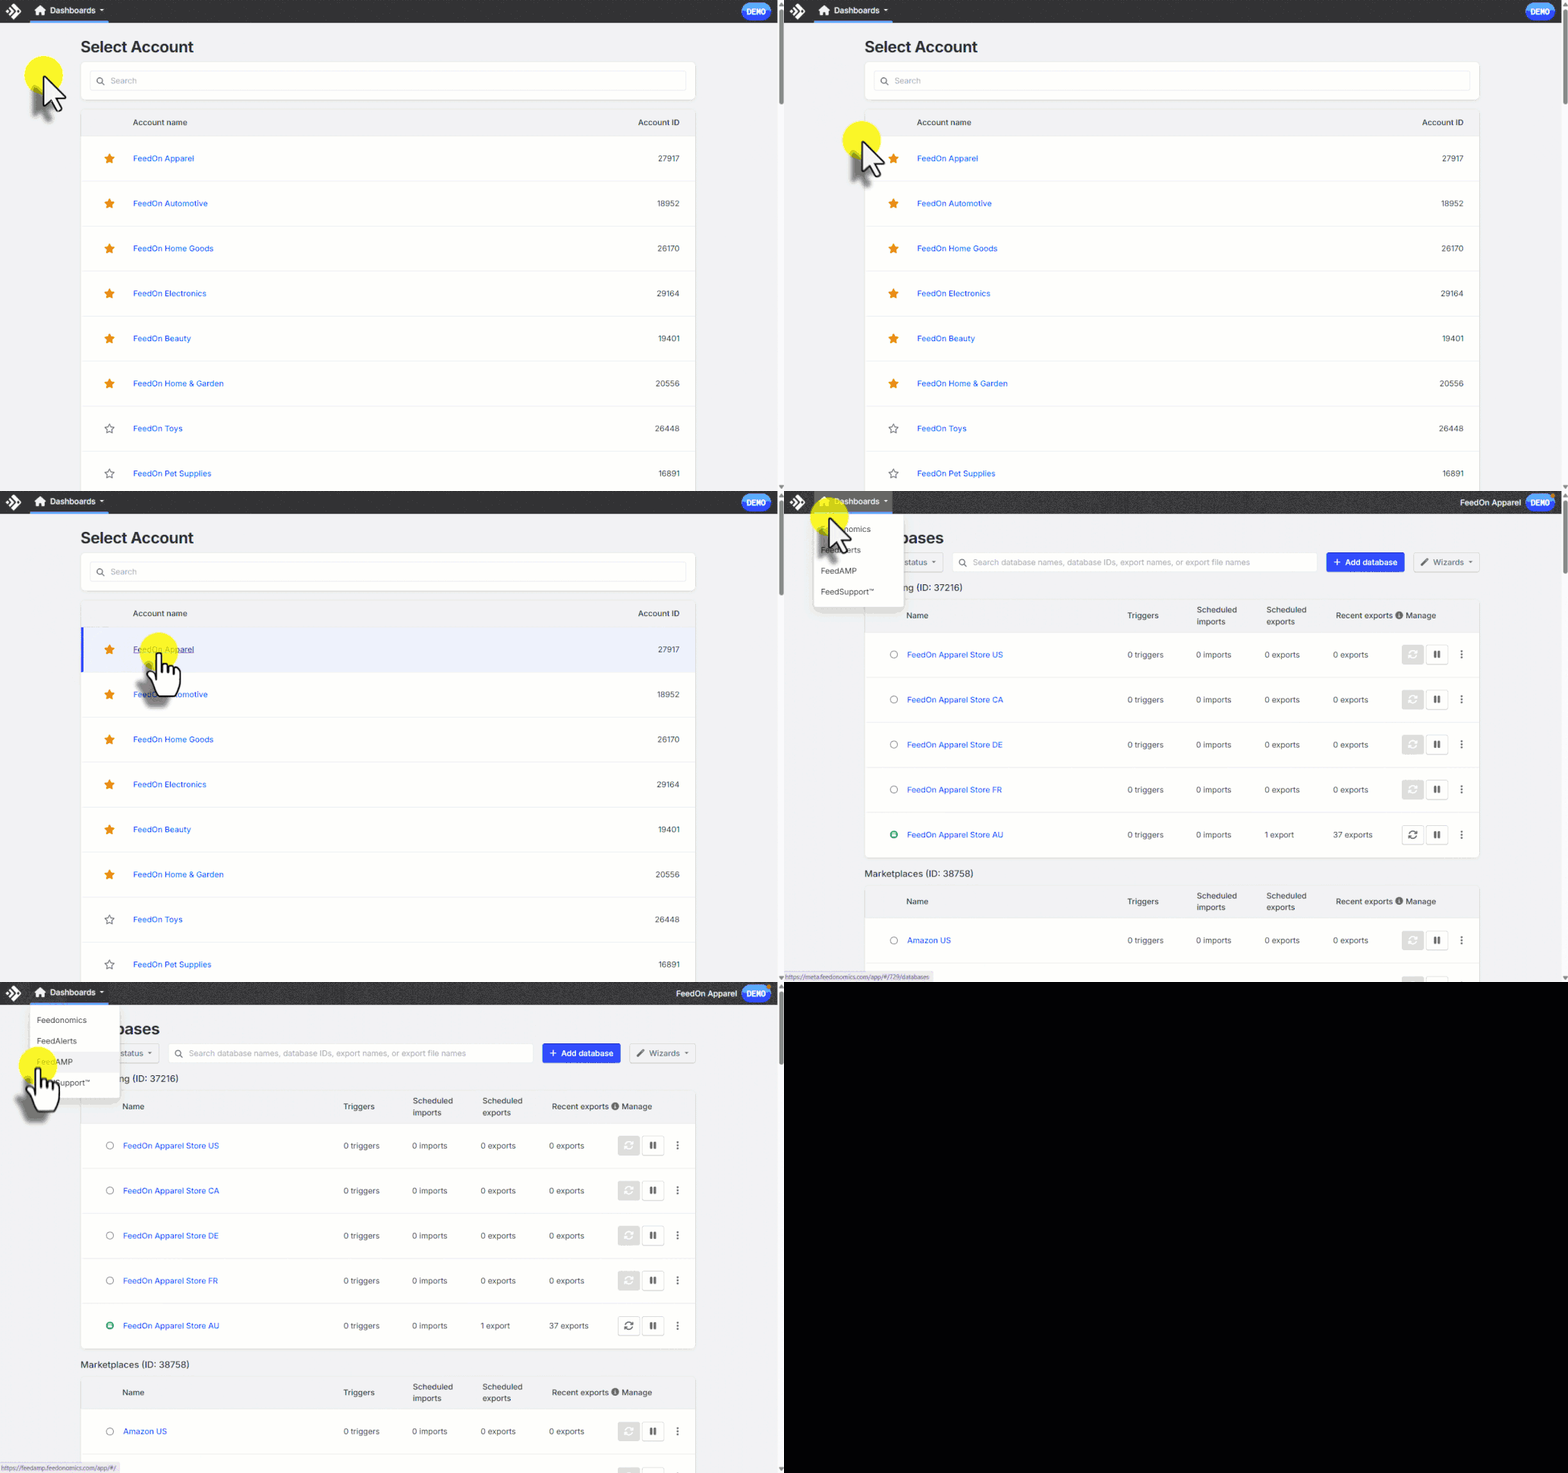
- From inside the platform. After signing in with your existing account credentials, find FeedSupport in the left-hand navigation of the database you’re working in.
Once you’re logged in to the platform:
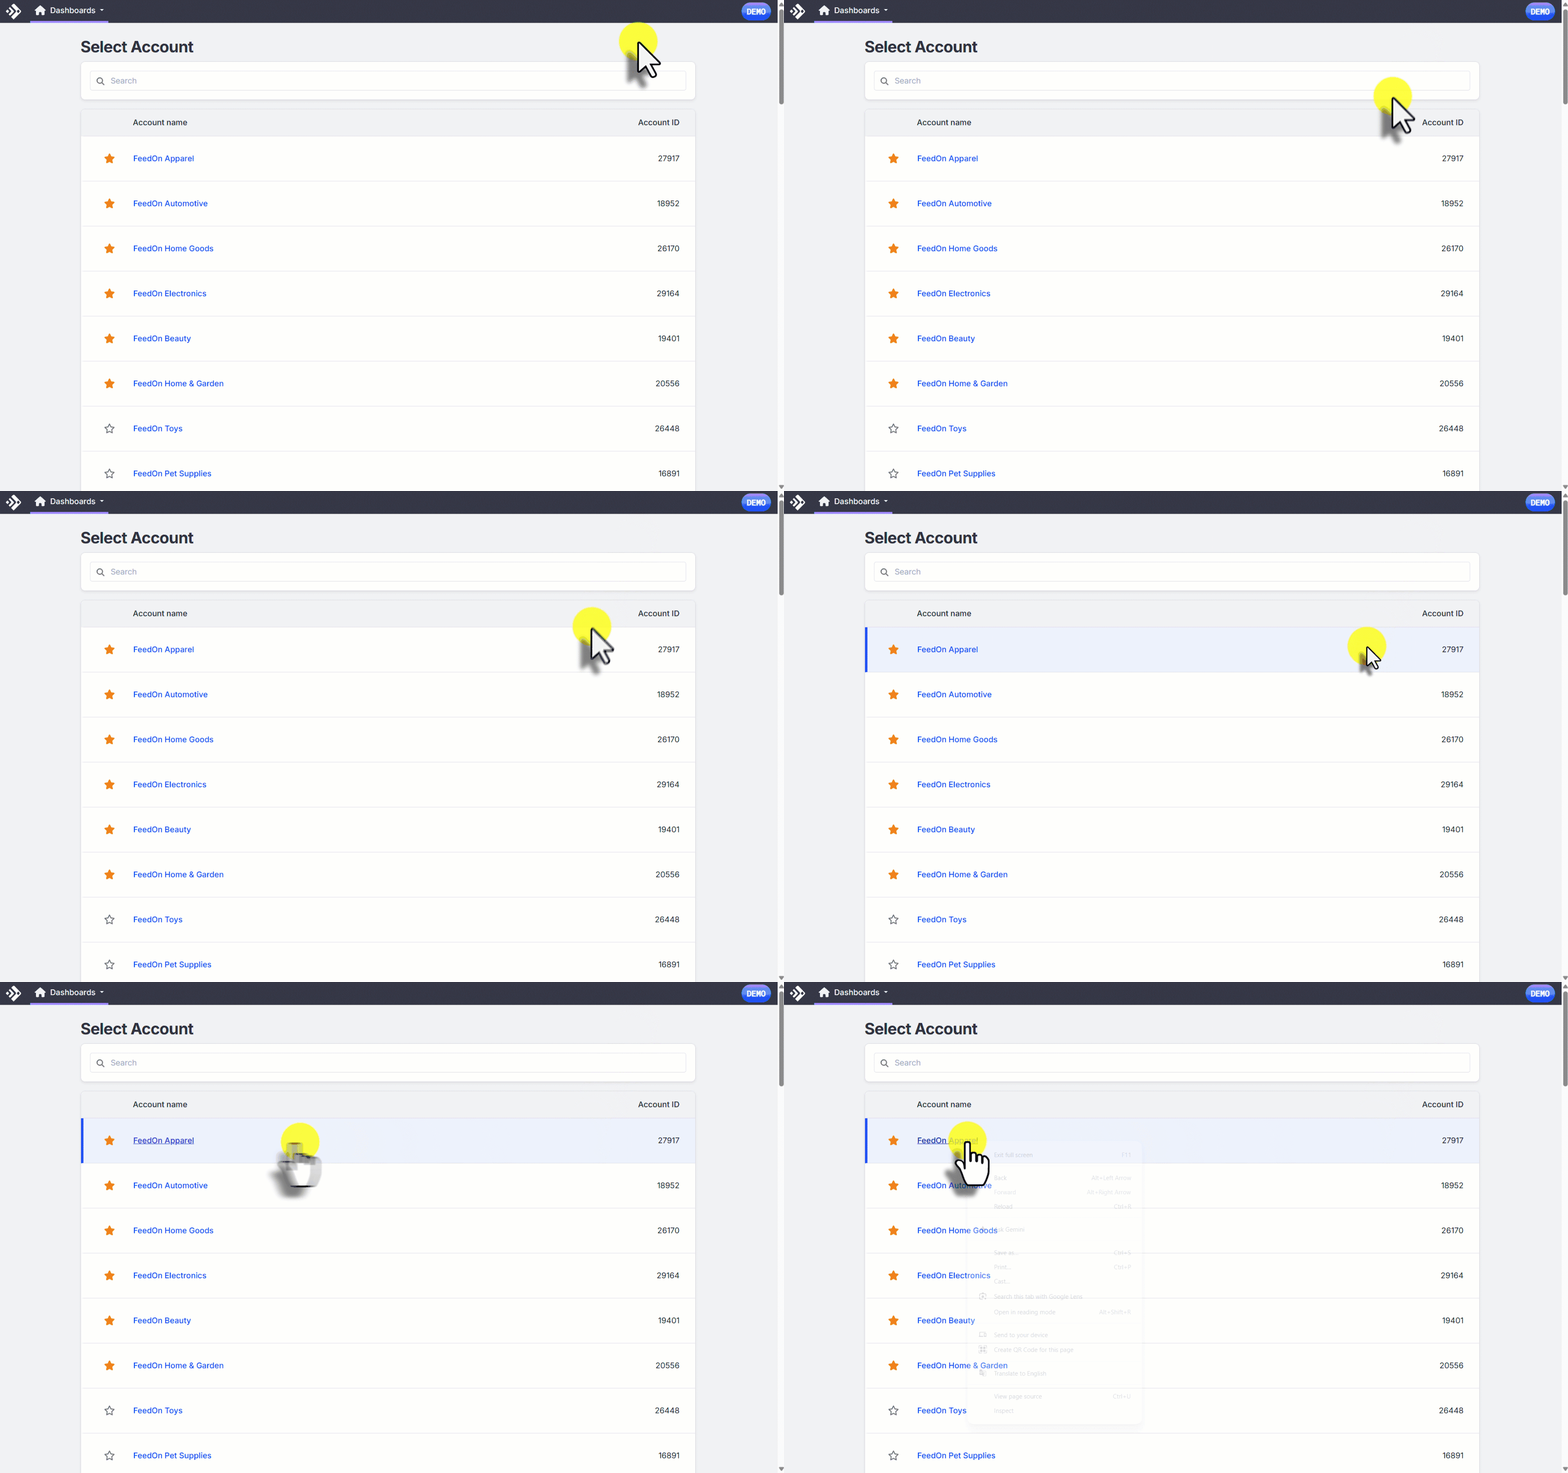
Select your account
If you manage more than one account, choose the one you need from the account list.
That’s a permissions issue rather than a portal issue. Ask your account’s Primary User or your Feedonomics contact to grant access to your profile on the User Access Control page.
The FeedSupport home screen
Once you land on the FeedSupport home screen, you’ll find:
- A search bar where you can search for ticket topics directly.
- A View existing tickets link if you want to check on something you’ve already submitted.
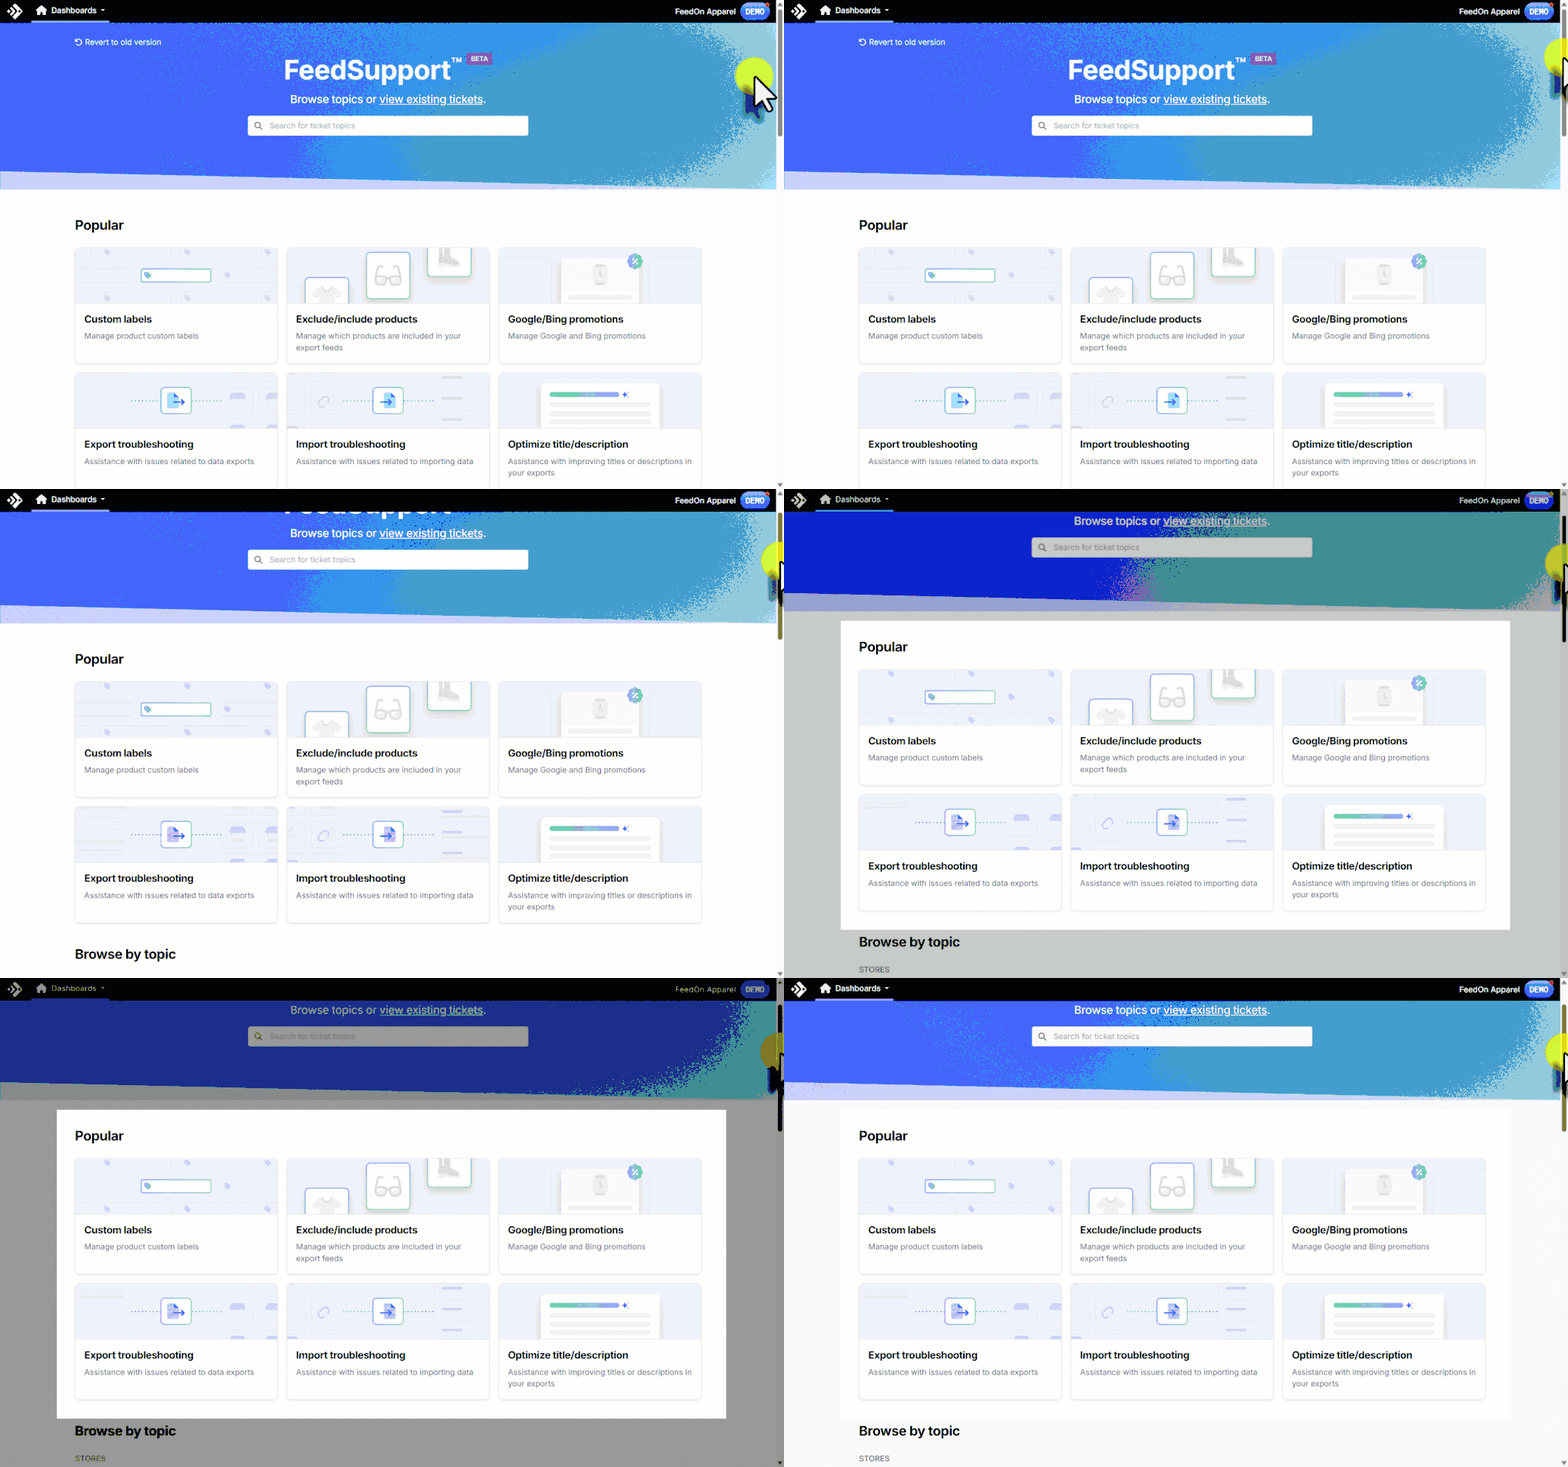
- A Popular section with quick links to the most common requests: Custom Labels, Exclude/Include Products, Google/Bing Promotions, Export Troubleshooting, Import Troubleshooting, and Optimize Title/Description.
- A Browse by Topic section further down, organized into categories so you can find the right ticket type even if it’s not one of the popular ones.
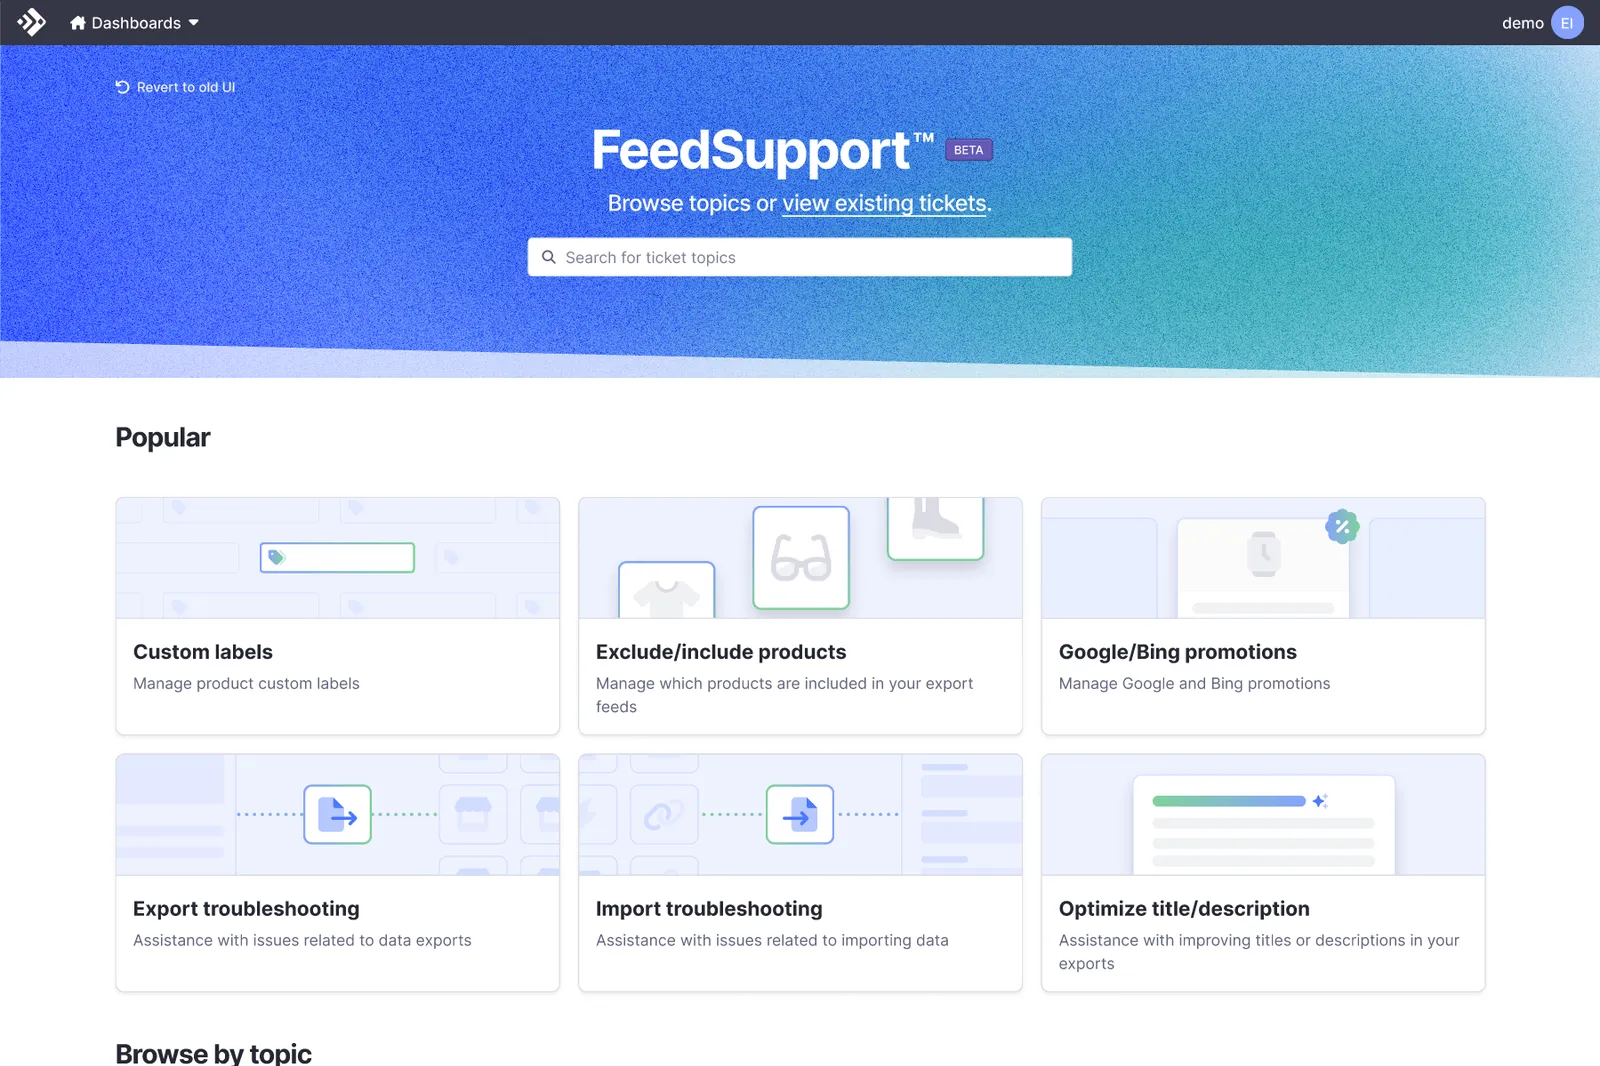
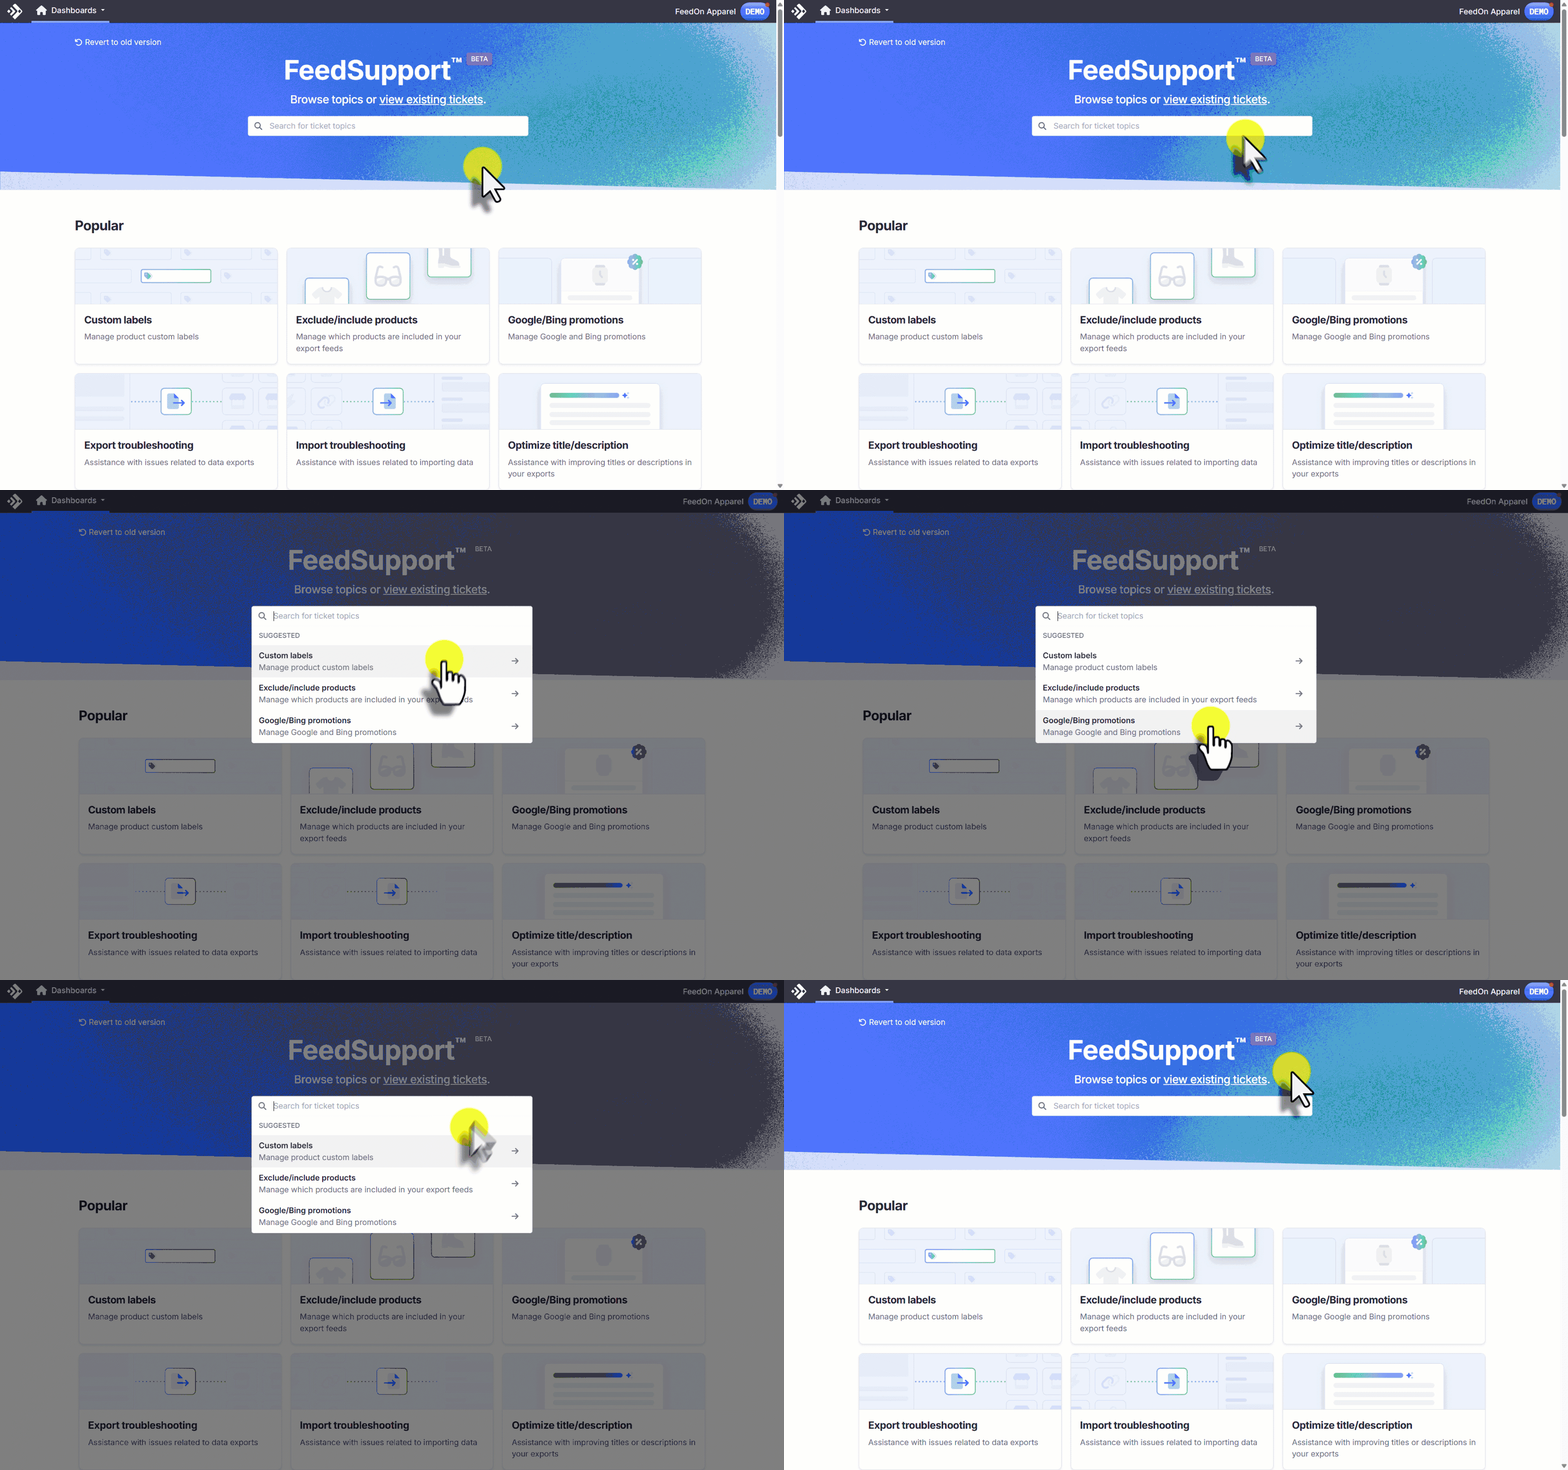
Selecting any topic tile takes you straight to the right ticket form for that request, pre-filtered to the fields relevant to what you’re trying to do.
Browse by Topic categories
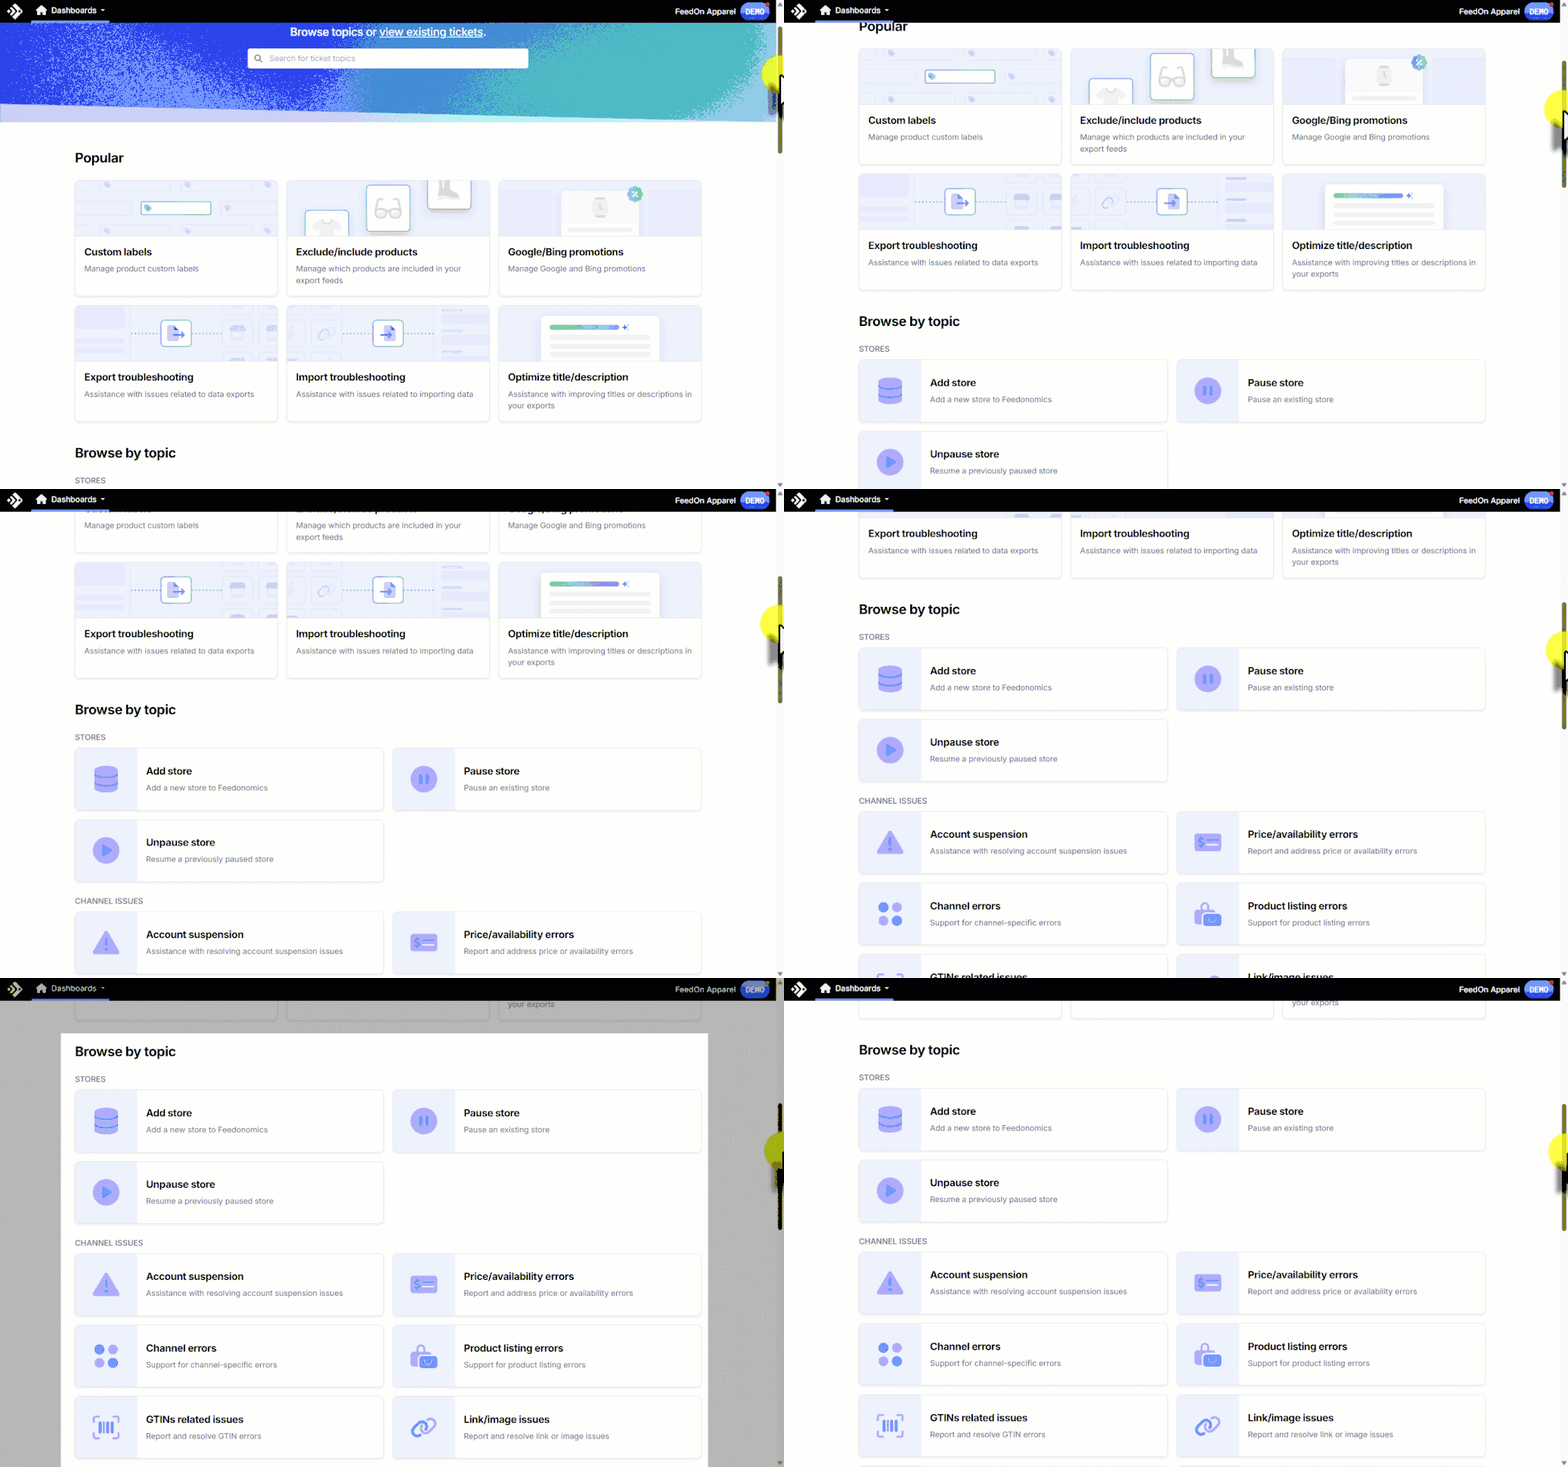
Stores
Request to have the FeedSupport team add a store, pause a store, or unpause a store.
Channel Issues
Report account suspension, price/availability errors, channel errors, product listing errors, GTIN-related issues, link/image issues, product ID tracking issues, or tax/shipping errors for the FeedSupport team to action.
Imports
Get assistance with import troubleshooting, or request import settings modifications from the FeedSupport team.
Exports
Request help with export troubleshooting, optimizing title/description, optimizing data, categorization issues, data governance protections, changes to your website provider or eCommerce platform, or adding, pausing, and unpausing a channel. All of these are actioned by the FeedSupport team. Excluding or including products is self-managed: see the Exclude/Include Products guide.
Channel Programs
Request FeedSupport team help with custom labels, Google/Bing promotions, marketplace promotions, local inventory ads, product ratings, or dynamic text ads.
Orders
Get help from the FeedSupport team with order automation setup or order automation issues.
Tools
Request FeedSupport team assistance with image padding, dynamic image overlay, A/B testing, or setting up Google Merchant Center alerts.
Account
Contact the FeedSupport team to request Feedonomics API access, a feed audit, a billing inquiry, or service cancellation.
That’s not a ticket. Use the User Access Control page to grant or revoke account permissions.
What you can do in the portal
Once you’re in the portal, you can:
- Submit a new ticket. Describe what you need, choose a priority level, and the team takes it from there.
- Check the status of open tickets. See where things stand without emailing anyone for an update.
- Review your ticket history. A full record of everything that’s been submitted and resolved for your account.
For self-managed workflows like adding or excluding products from your feed, you can make the change yourself directly in the platform. See the Exclude/Include Products guide for how.
Submit a request
Opening a ticket takes a couple of minutes. Once you select the type of help you need, you fill out a short form:
Select the store
Choose the store the request applies to. In the platform, a store is a specific database, typically named to match the merchant’s brand and region. This is different from an account, which is a higher-level term that can span multiple stores.
For example, if you’re “FeedOn Apparel,” you might have separate stores like FeedOn Apparel UK, FeedOn Apparel US, FeedOn Apparel US - LIA, and FeedOn Apparel CA. Picking the right store makes sure your request is applied to the correct database.
Choose what you need help with
This is pre-populated based on the topic tile you selected on the home screen (for example, Import Troubleshooting), so you’ll usually confirm it’s correct. Only change it if you’ve decided you need help with something else.
Select the feed export channels this applies to
Channels are the destinations your feed exports to, like Google Shopping, Facebook/Meta, Amazon, or Bing. The fix or change is scoped to what you select here, not applied account-wide, so select every channel that’s affected.
You don’t need to select each channel individually. Select one channel and add a note in the description asking for the change to be applied across all channels. “Account-wide” here means all channels within the store you selected in the first step, not across multiple stores. If you need the same change for more than one store, submit a separate ticket for each.
Describe the issue
Write in as much detail as you can. The more context you give, the faster the team can help.
Upload a file, if helpful
Screenshots or exports of the issue are always welcome, and are sometimes required depending on the request type.
Choose a priority
Select Standard or Urgent based on how time-sensitive the issue is. See Response times.
Don’t include personally identifiable information (PII) in your ticket unless it’s necessary to resolve the issue.
Access to FeedSupport is controlled through the User Access Control page. Every access level includes the ability to submit new tickets, so anyone your Primary User has added there can open a request. The levels differ in what else they allow: Primary and Write can make changes to your data, Read+ can view it and make changes inside the self-managed workspaces, Read can view it, and Support Only is limited to submitting tickets. If you don’t see FeedSupport at all, you haven’t been added on the User Access Control page yet. See Don’t have access yet? below.
Check on existing tickets
Select View existing tickets from the FeedSupport home screen to open the Tickets view. From here you can:
- Search by ticket number or subject.
- Filter by store, if you manage more than one.
- Filter by status: All, Open, or Closed.
- Toggle between My Tickets and All Tickets. My Tickets shows only the ones you submitted; All Tickets shows everything submitted for your account. The All Tickets view is only available to the account’s Primary User. Other access levels see My Tickets only.
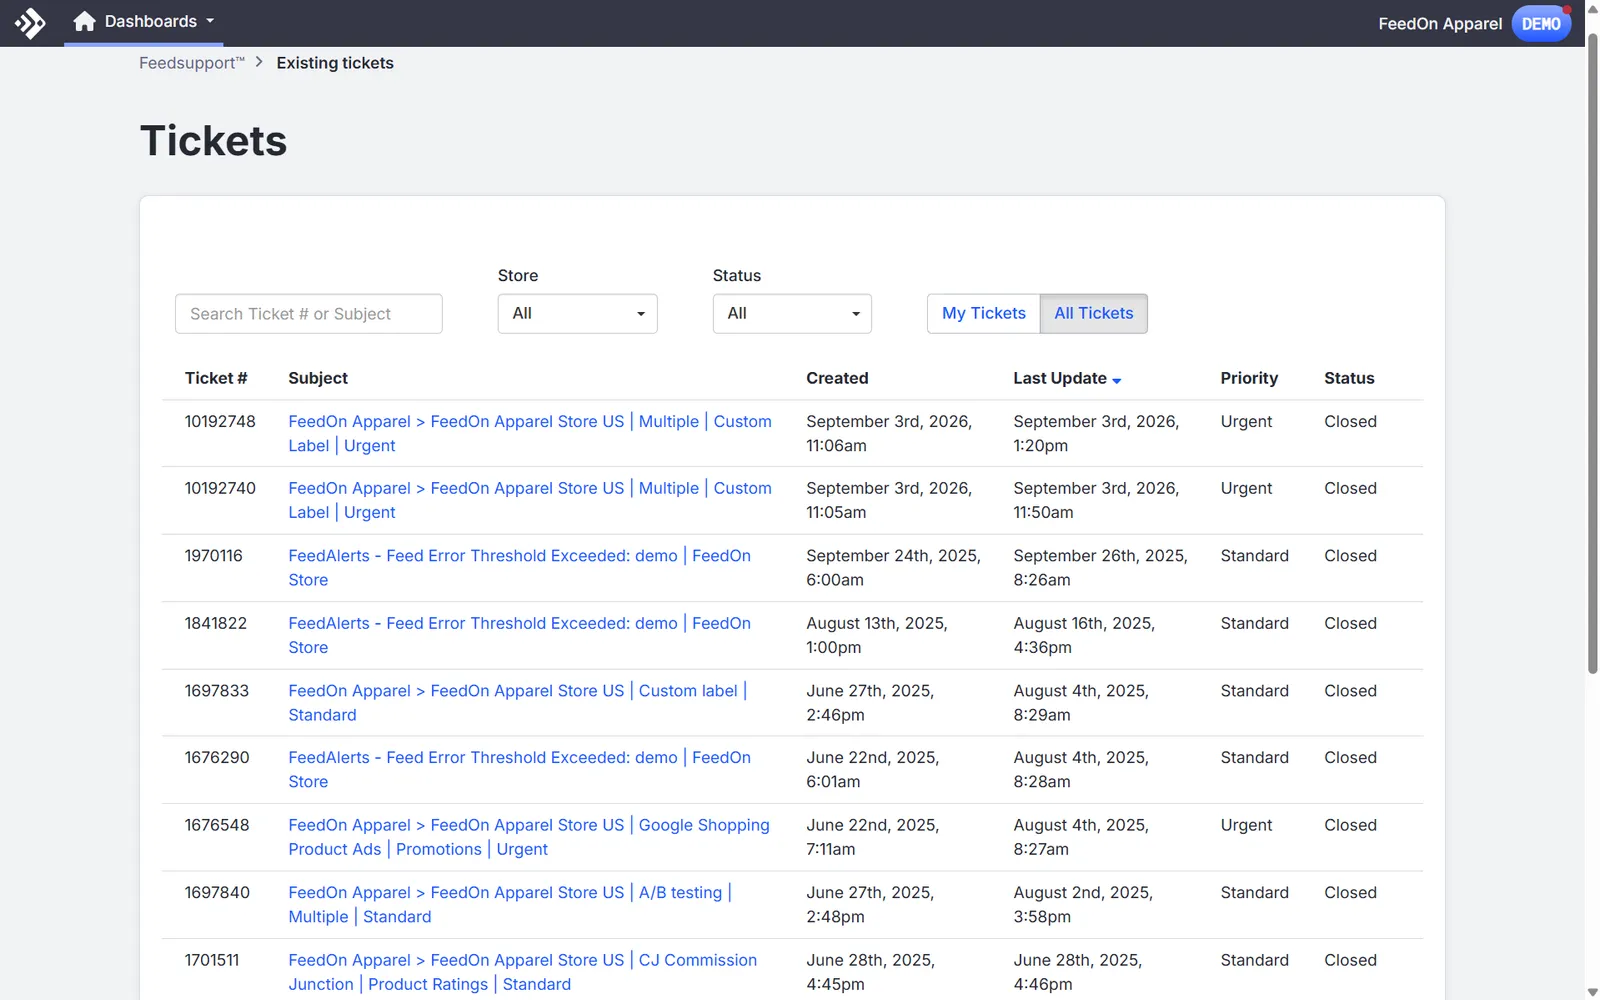
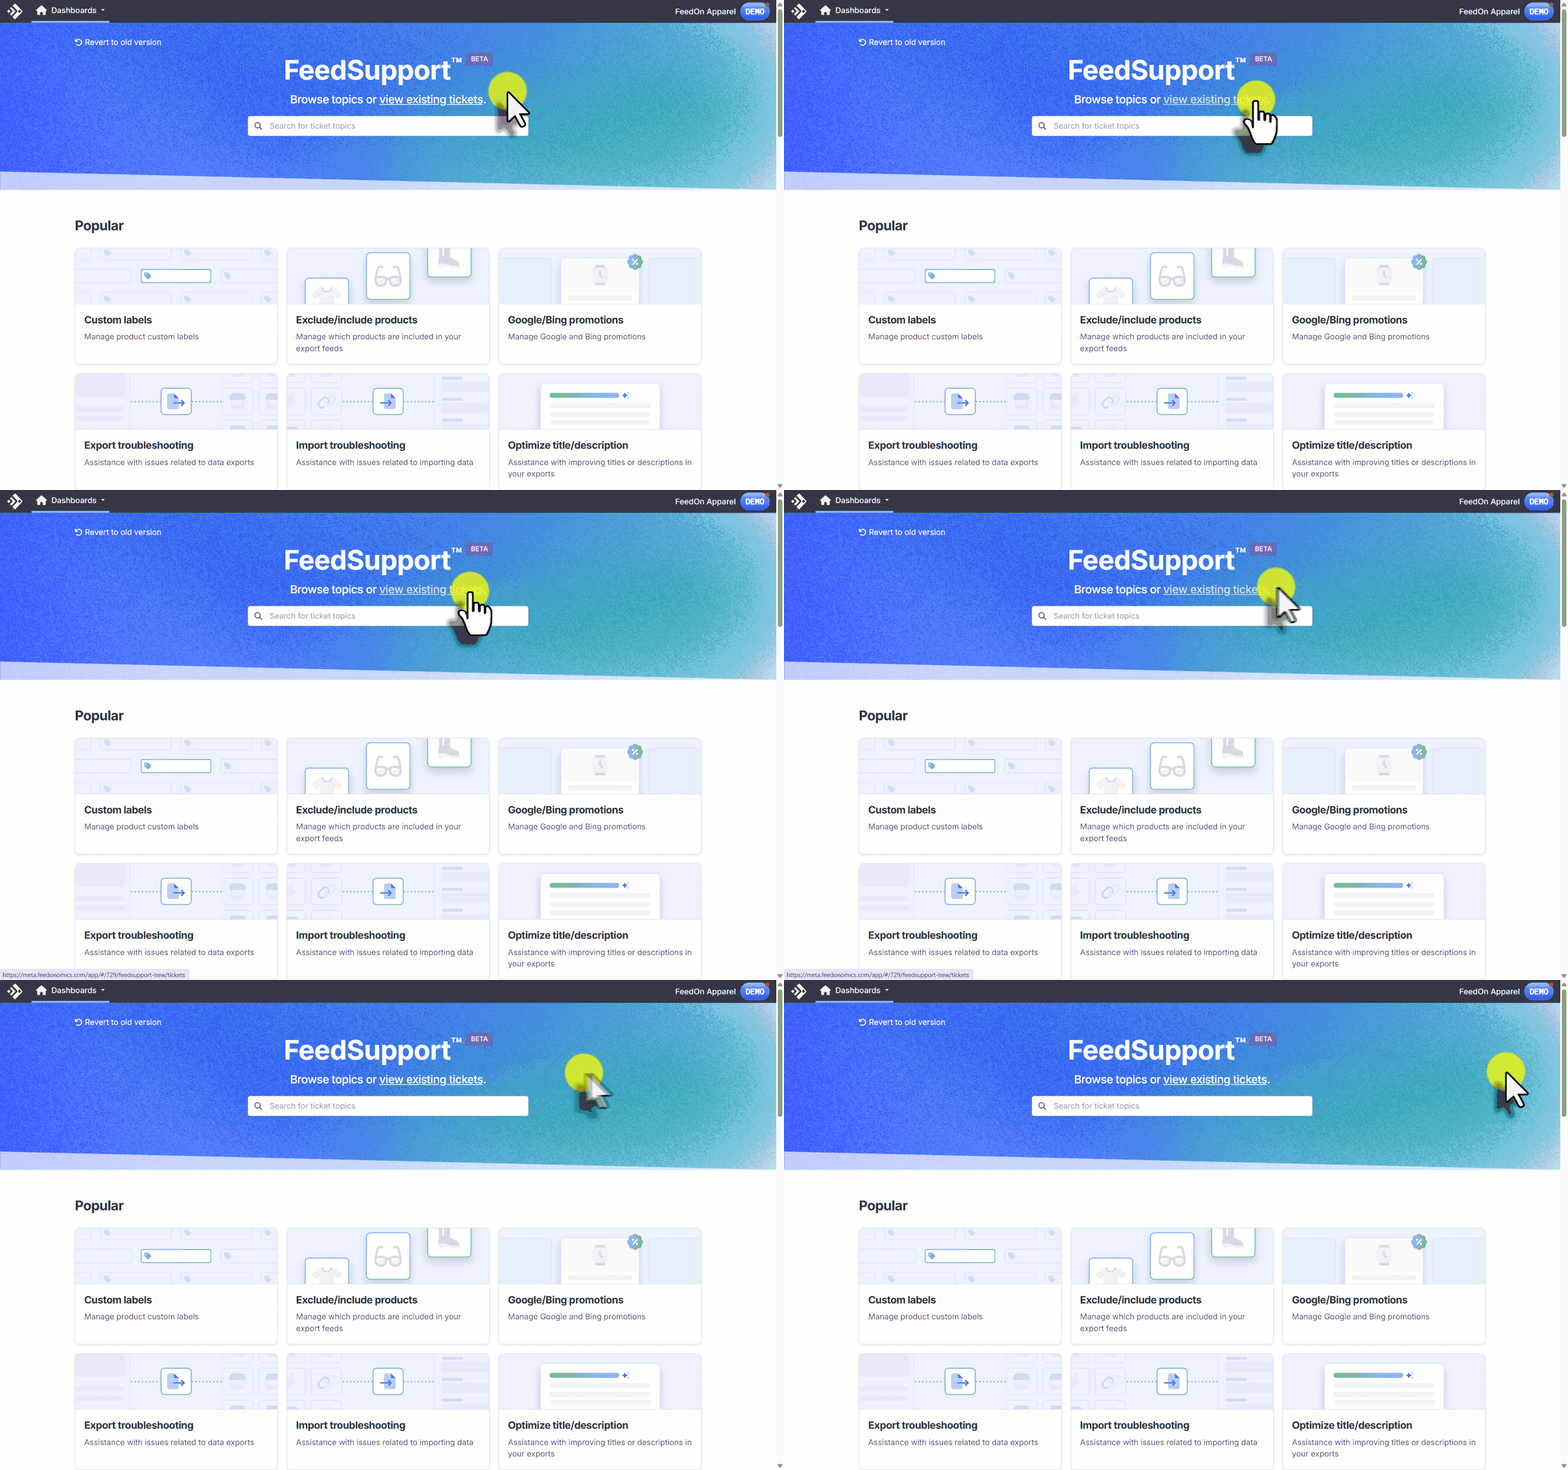
Each ticket in the list shows its Ticket #, Subject, Created date, Last Update, Priority, and Status, so you can scan for what’s still open and what’s been resolved.
Ticket details
Select any ticket’s subject line to open its Ticket Details page, where you’ll see:
- The same ticket header information (Ticket #, Subject, Created, Last Update, Priority, Status) at the top.
- Reply and Attach buttons, so you can respond to the ticket or add a file without opening a new one. Selecting Reply opens a rich text editor with its own Send and Attach buttons: write your message, attach a file if needed, and select Send.
- The full message thread below, showing every update from Feedonomics Support and your own replies in order.
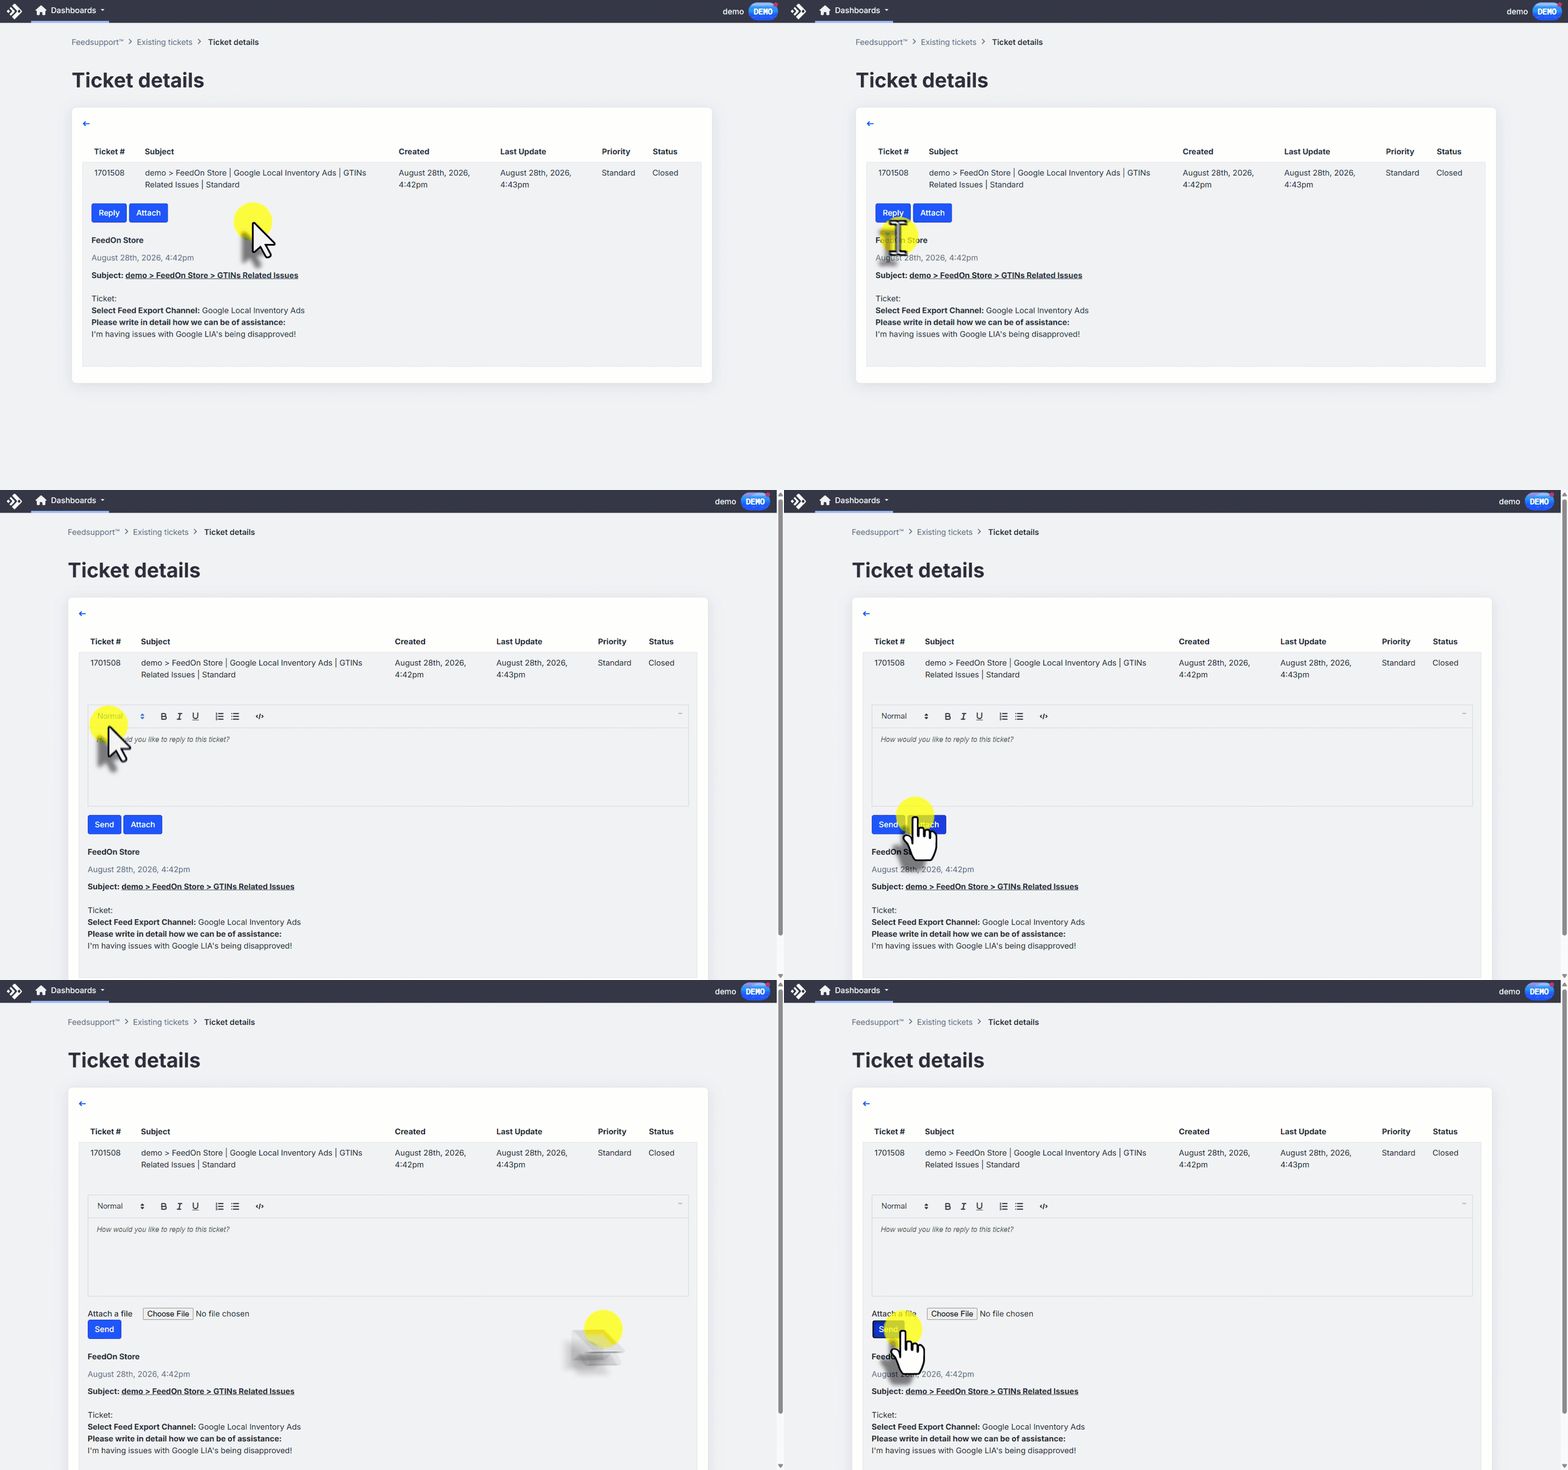
Response times
Your priority level sets the pace for the response:
You choose between these two options when you submit your ticket.
Don’t have access yet?
Your account’s Primary User can grant access from the User Access Control page. Once that’s updated, FeedSupport appears in your navigation the next time you log in.